
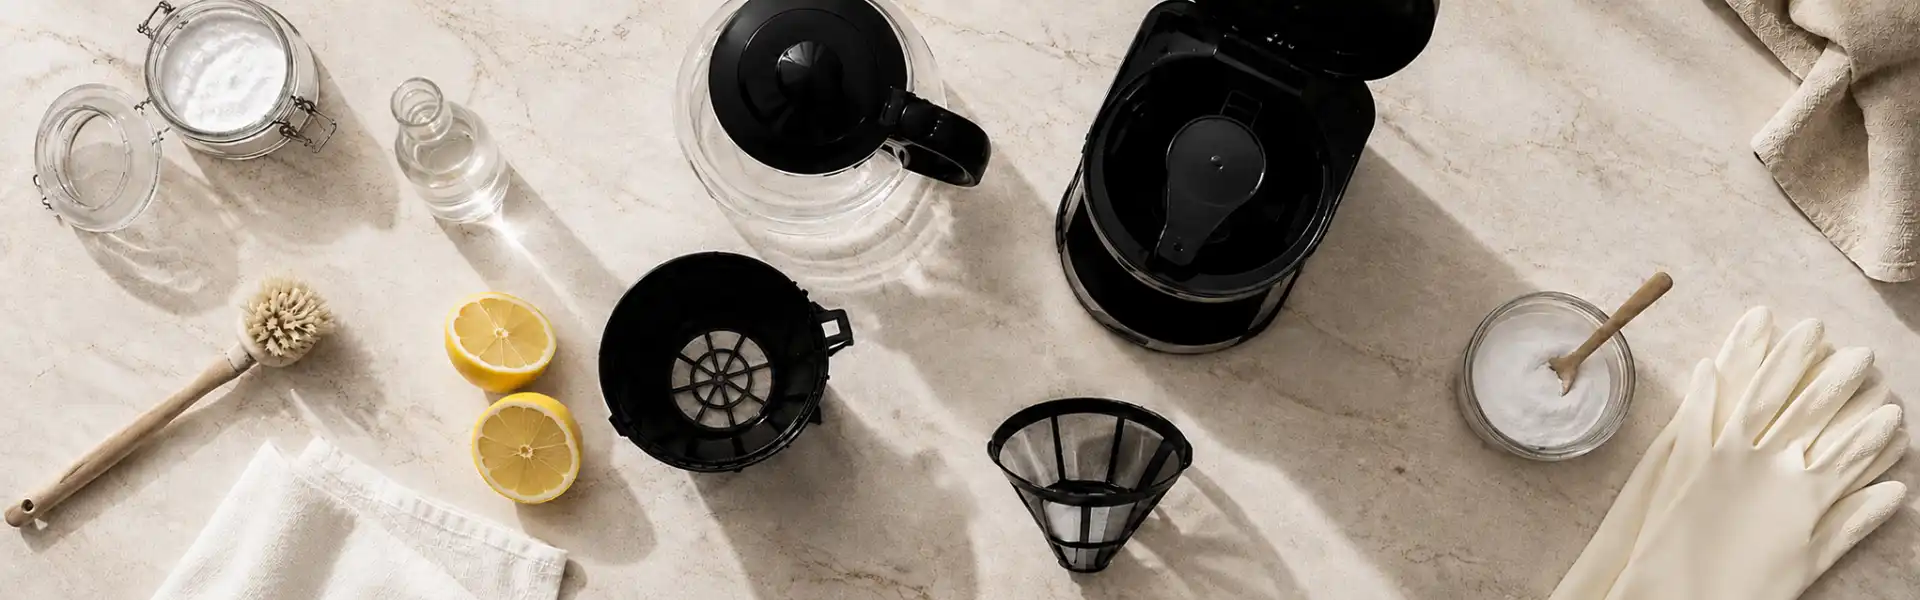
How to Clean a Coffee Maker
Daily Cleaning, Deep Cleaning, and When to Descale
QUICK ANSWER
How to Clean a Coffee Maker
- Remove old grounds and filters.
- Wash the carafe, basket, lid, and reusable filter.
- Wipe the machine and warming plate.
- Rinse or wipe the reservoir if the manual allows.
- Run a clean water cycle if the machine still smells stale.
- Descale when flow slows, machine noise changes, warning lights appear, or chalky buildup suggests scale.
For the full descaling process, read our guide on how to descale a coffee maker
Cleaning vs Descaling: What is the Difference?
A coffee maker can look clean on the outside and still have scale inside the water path.
That is why it helps to separate cleaning from descaling.
Cleaning deals with coffee residue. This includes oils, stains, old grounds, and buildup around the carafe, lid, filter basket, drip area, and exterior surfaces.
Descaling deals with minerals. This usually means limescale from hard water inside the reservoir, heating element, tubes, valves, and spray head.
You usually need both routines.
Clean the parts that collect coffee residue. Descale the water path when mineral scale builds up.
The same distinction applies to kettles: our guide on how to clean a tea kettle explains when to use soap or baking soda for everyday grime and when mineral buildup needs an acidic descaler.
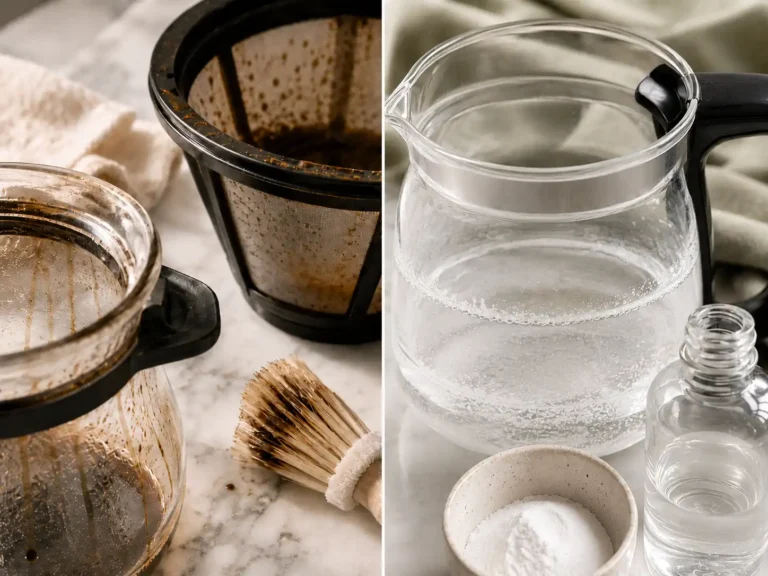
What you Need to Clean a Coffee Maker
For normal cleaning:
- Warm water
- Mild dish soap
- Soft sponge or cloth
- Small brush
- Clean water
For stains, residue, or odors:
- Baking soda
For mineral scale:
- White vinegar, if the manual allows it
- Purpose-made descaler, if scale is the issue
Do not run dish soap, bleach, or harsh cleaners through the water reservoir.
How to Clean a Drip Coffee Maker Properly
A drip coffee maker is usually simple to clean, but the mistake is treating it like only the carafe matters.
It does not.
Coffee residue follows a path. It sits in the carafe, but it also collects around the filter basket, lid seams, reusable filter mesh, drip area, spray head, and warming plate. These are the small areas that keep a clean-looking machine smelling stale.
After each use, throw away the used paper filter and grounds. If you use a reusable filter, rinse it well and wash it often.
Then remove the carafe, filter basket, reusable filter, and lid. Wash these parts with warm water and mild dish soap. Use a soft brush around corners, mesh areas, lid seams, and the filter basket.
Do not scrub hard. If residue needs force, soak the removable parts for 10 to 15 minutes first. This softens old coffee oils without scratching plastic, mesh, or glass.
Once the removable parts are clean, follow the drip path. Wipe the area where brewed coffee leaves the basket. Clean around the spray area or showerhead if you can reach it safely. Wipe the warming plate only when it is cool.
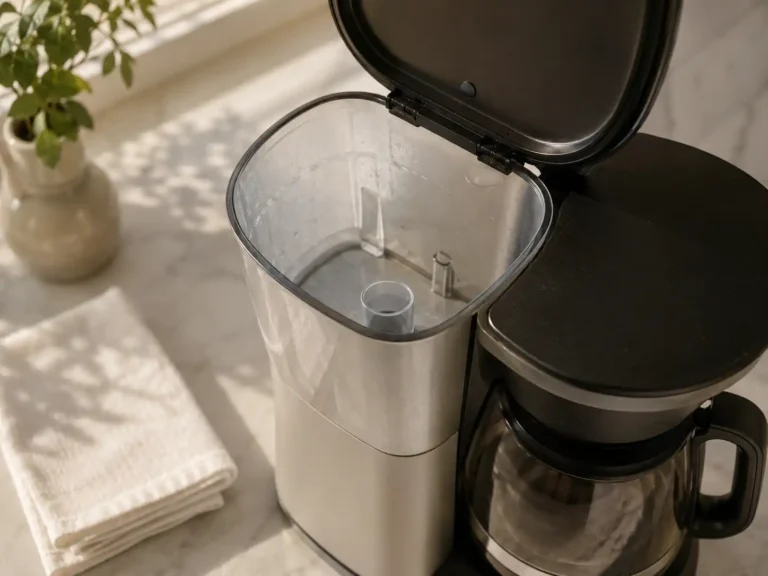
Check the water reservoir as well. Old water, dust, and mineral marks can collect there over time. If the reservoir is removable, wash and rinse it according to the manual. If it is fixed, wipe only where you can reach safely.
One useful test is the smell test before reassembly. If the carafe is clean but the basket or lid still smells like old coffee, the machine is not really clean yet.
If the machine still smells stale after cleaning, run a clean water cycle.
If the water flow is still weak after cleaning, the issue may be scale rather than dirt or coffee residue. In that case, move from cleaning to descaling.
How to Clean the Inside of a Coffee Maker
The inside of a coffee maker includes the reservoir, water path, heating area, tubes, spray head, and parts you cannot usually reach by hand.
Inside cleaning does not mean scrubbing hidden tubes. It means cleaning the parts you can safely reach, then using the correct rinse, cleaning cycle, or descaling process for the internal water path.
You can wipe and rinse the reservoir if the manual allows it. You can clean the removable parts by hand. But do not pour dish soap into the reservoir and run it through the machine.
Soap can foam, leave residue, and take a long time to rinse from the internal water path. If the inside of the machine has mineral scale, use the correct descaling process instead.
How to Clean a Coffee Maker Water Reservoir Safely
The water reservoir is easy to overlook.
It can collect water marks, dust, and residue around the edges. Empty the reservoir. Wipe the inside with a clean damp cloth where you can reach safely.
Do not use bleach, harsh cleaners, or anything you cannot rinse away properly.
If the reservoir is removable, wash and rinse it according to the machine manual.
Do not scrub into areas you cannot rinse properly. If the reservoir has white chalky marks, that is usually scale rather than coffee residue. In that case, the machine likely requires descaling.
How to Clean a Coffee Maker with Vinegar
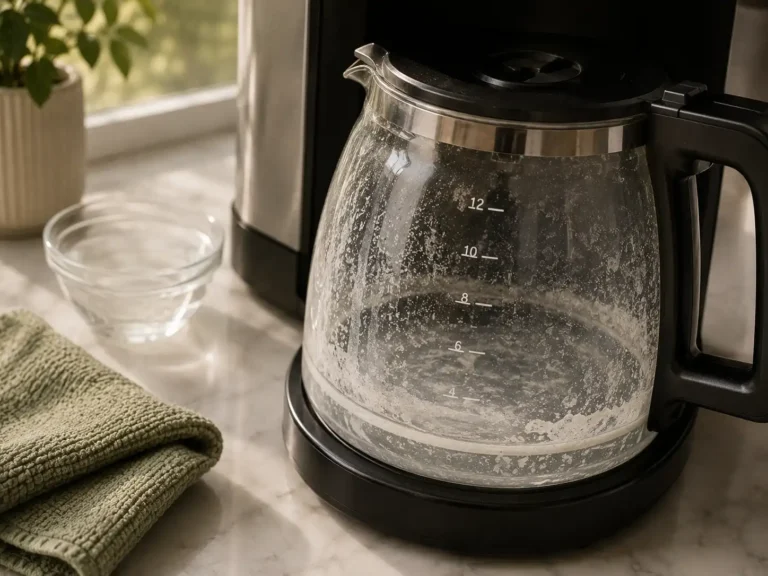
Vinegar can be useful for cleaning certain coffee maker parts, especially if there are light mineral marks, stale smells, or cloudy film inside a glass carafe.
Do not use it as a general cleaner for every part of the machine. For normal coffee oils and old grounds, use warm water and mild dish soap first.
To clean removable parts with vinegar:
- Mix 1 part white vinegar with 3 parts warm water.
- Dip a soft cloth or sponge into the mixture.
- Wipe the glass carafe, lid, removable basket, and washable plastic parts.
- Use a small brush around corners, seams, and the filter basket.
- Rinse every part thoroughly with clean water.
- Let everything air dry before putting the machine back together.
For a glass carafe with cloudy marks or stale smell:
- Fill the carafe with warm water.
- Add 2 to 3 tablespoons of white vinegar.
- Stir and leave it to sit for 10 to 15 minutes.
- Wipe the inside with a soft sponge.
- Rinse several times until the vinegar smell is gone.
- Do not use vinegar on parts you cannot rinse properly.
- Do not mix vinegar with bleach or other cleaning products.
- Do not pour vinegar into the water reservoir unless your machine manual allows it.
Once vinegar goes through the internal water path, you are descaling the machine, not just cleaning it.
For that process, read our full guide to descaling coffee maker with vinegar.
How to Clean a Coffee Maker without Vinegar
You do not need vinegar for normal coffee maker cleaning.
For everyday coffee residue, warm water, mild dish soap, and regular rinsing are the better first choice. Wash the carafe, lid, reusable filter, and filter basket. Wipe the drip area, warming plate, and any reachable parts of the reservoir.
Vinegar can help with light mineral film or stale smells on washable parts. It is not needed for coffee oils, old grounds, or normal surface residue.
If the problem is mineral scale inside the machine, move from cleaning to descaling. A purpose-made descaling solution for coffee maker maintenance gives you a more controlled process than vinegar, without the strong smell that can stay in the machine if it is not rinsed fully.
For a full comparison, read our guide to the best descaler for coffee machines.
How to Deep Clean a Coffee Maker
A deep clean is useful when the coffee maker smells stale, has brown staining, oily residue, or old buildup around the basket and lid. The important point is to treat the right problem, because coffee oils, old grounds, mineral film, and stale smells do not all respond to the same cleaning method.
Start by turning the machine off and letting it cool, then remove every washable part, including the carafe, lid, reusable filter, filter basket, and removable reservoir if your manual allows it.
Fill the sink with warm water and a small amount of mild dish soap, then soak the removable parts for 10 to 15 minutes. This softens coffee oils and old residue before you start cleaning, which means you should not need to scrub hard or use anything abrasive.
After soaking, gently clean the areas where residue usually collects, especially basket corners, lid seams, reusable filter mesh, the drip area, the carafe lip, and the inside corners of the carafe. Use a soft brush, sponge, or cloth. The aim is to loosen residue without scratching the surface.
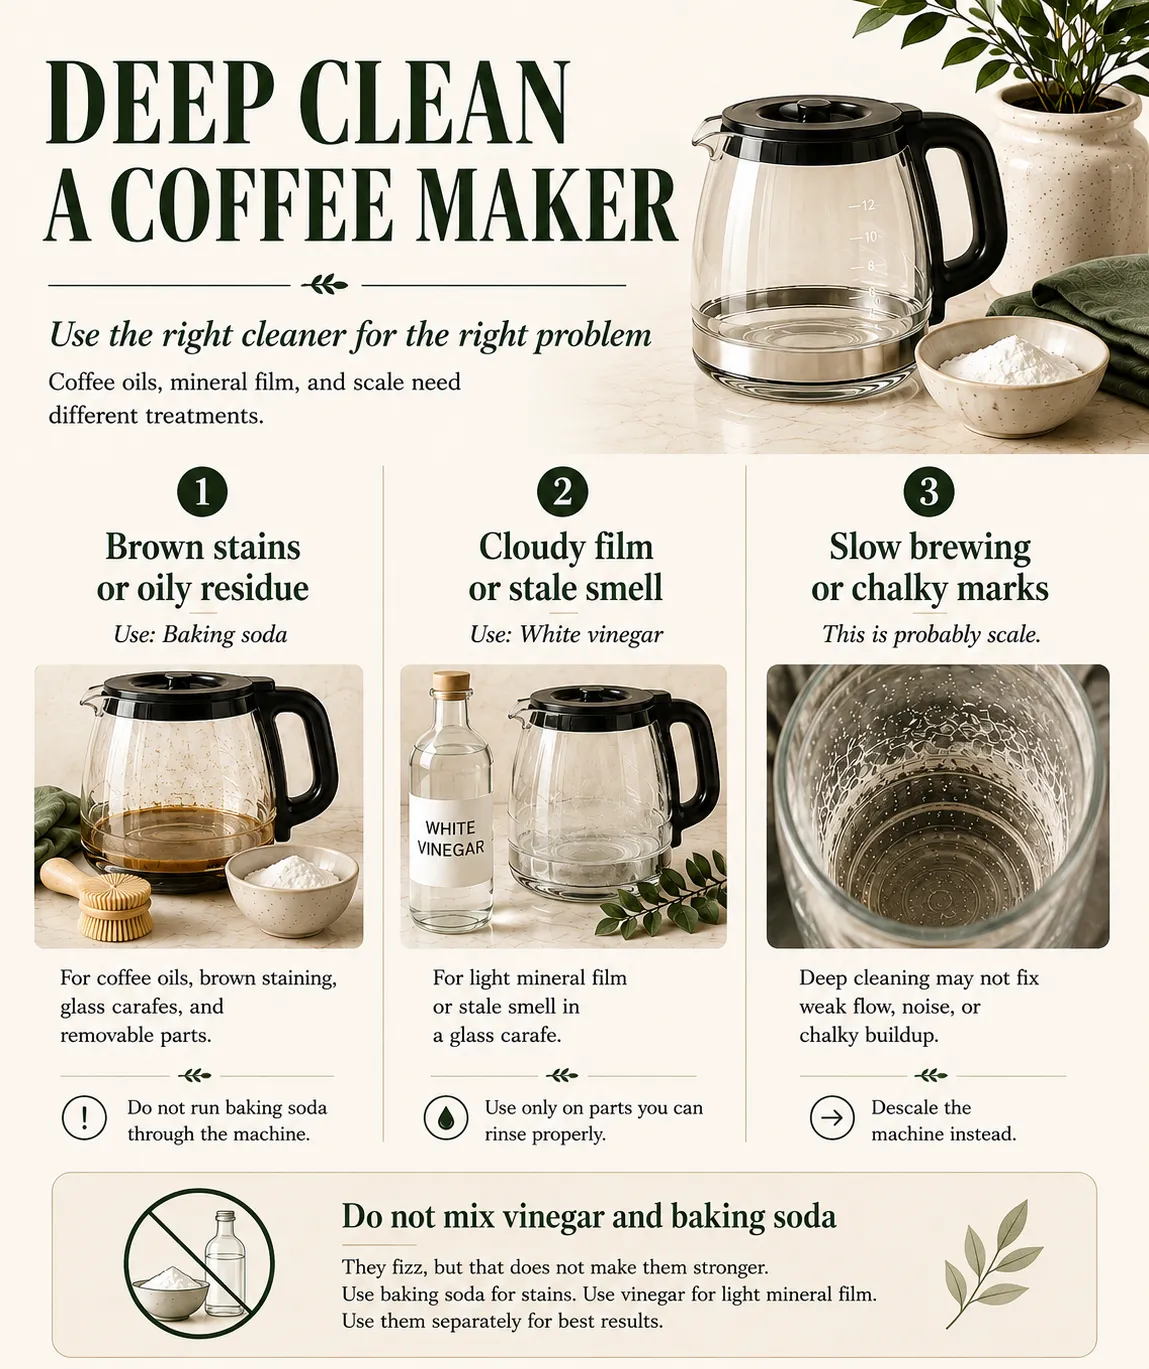
For brown coffee stains or oily residue inside a glass carafe, use baking soda on its own.
- Fill the carafe with warm water.
- Add 1 tablespoon of baking soda.
- Leave it for 15 to 30 minutes.
- Gently clean the inside with a soft sponge or bottle brush.
- Rinse well.
For cloudy mineral film or a stale smell inside a glass carafe, use vinegar on its own.
- Fill the carafe with warm water.
- Add 2 to 3 tablespoons of white vinegar.
- Leave it for 10 to 15 minutes.
- Wipe the inside with a soft sponge.
- Rinse several times until the vinegar smell is gone.
Do not mix vinegar and baking soda for this job. The fizz looks useful, but it is mostly the two ingredients reacting with each other. Vinegar is acidic and baking soda is alkaline, so when you mix them, they start to cancel each other out.
Use baking soda for brown staining and oily residue. Use vinegar for light mineral film or stale smell. Use them separately, and only on parts you can rinse properly.
Do not pour baking soda, vinegar, or any cleaning mix through the water reservoir unless your machine manual says it is safe. Once a cleaning liquid goes through the internal water path, you are no longer just cleaning visible parts. You may be descaling the machine, and that needs a different process.
Clean around the drip area, basket holder, and warming plate once the machine is cool. Coffee drips can dry onto these areas and keep the machine smelling stale even after the carafe looks clean.
Check the reservoir as well. If you can reach it safely, wipe it with a clean damp cloth, but do not use bleach, harsh cleaners, or abrasive pads inside the machine.
Rinse every removable part thoroughly, then let the parts air dry before putting the coffee maker back together. Run one clean water cycle if the machine needs rinsing.
After a deep clean, the machine should smell fresher and the removable parts should feel clean, not oily. If the coffee maker still brews slowly, sounds louder, or shows white chalky marks, the problem is probably not coffee residue. It is probably scale, and that is when you need to descale.
Other Coffee Maker Cleaning Questions
Can you clean a coffee maker with lemon juice?
Lemon juice can help with light smells or minor mineral marks on removable parts, especially a glass carafe.
Use it only on parts you can rinse properly. Do not run lemon juice through the water reservoir unless your machine manual says it is safe.
Lemon juice is acidic, but it can leave scent, pulp, and residue behind. For everyday coffee oils and old grounds, warm water and mild dish soap are still the better first choice. For mineral scale inside the machine, use a proper descaling method.
Can you clean a coffee maker with bleach?
No.
Do not run bleach through a coffee maker.
Bleach is not suitable for the internal water system of a coffee machine.
It can leave unsafe residue and is not needed for normal coffee maker cleaning.
Use mild dish soap on removable parts.
Use clean water for rinsing.
Use an approved descaler when the problem is mineral scale.
How to clean a moldy coffee maker
A moldy coffee maker needs careful cleaning.
Start by removing and washing every removable part.
Clean the carafe, lid, filter basket, reusable filter, and reservoir if the manual allows it.
Rinse everything well.
Let the parts dry fully before putting them back.
Do not ignore mold in areas you cannot reach or rinse properly.
Check the manufacturer guidance before using the machine again.
If the machine smells bad after cleaning, stop and review the manual before brewing coffee.
When Cleaning is Not Enough
A clean coffee maker should smell fresher, and the carafe, lid, filter basket, and drip area should not have sticky residue, stale coffee smell, or old grounds trapped in corners.
A little coffee oil after brewing is normal. Old oil buildup is different. It feels tacky, smells stale, and often collects around basket seams, reusable filter mesh, the carafe lip, and the drip area.
But cleaning has a limit.
If you have cleaned the parts that touch coffee and the machine still brews slowly, sounds strained, or produces weak flow, the problem is probably not old grounds or coffee oil. It is more likely scale inside the water path.
That is the key difference.
- Cleaning improves the parts you can reach.
- Descaling treats the parts the water passes through.
Use the result after cleaning as your test. If the smell is gone and the parts feel clean, the cleaning worked. If the machine still struggles to move water, the issue has moved beyond surface residue.
Look for this pattern:
- the carafe and basket are clean, but brewing is still slow
- the machine sounds louder than usual
- the water stream is weak or uneven
- the coffee tastes flat even after cleaning
- white chalky marks keep returning in the reservoir
- your kettle scales quickly too
At that point, do not keep washing the removable parts and expecting the flow to improve.
At that point, move from cleaning to descaling.
For the full process, read our guide on how to descale a coffee maker.
How Often Should you Clean a Coffee Maker?
Do not clean a coffee maker by the calendar alone. Clean it by what each part actually handles.
The parts that touch coffee need the most frequent attention. That means the carafe, lid, filter basket, reusable filter, drip area, and warming plate. These parts collect coffee oils, wet grounds, splashes, and stale residue, so they should be rinsed or washed after regular use.
The parts that hold water need a different kind of attention. Empty standing water from the reservoir, leave reachable areas dry, and keep the lid open for a while after use if your machine design allows it. A closed, damp reservoir is exactly the kind of place where stale smells begin.
Use this simple rhythm:
- After use: remove grounds, rinse the basket, and wash the carafe if coffee has been sitting in it.
- Every few uses: wash the lid, reusable filter, filter basket, and drip area properly with warm water and mild dish soap.
- When the machine smells stale: deep clean the removable parts and check the basket seams, spray area, carafe lip, and reservoir.
- When brewing slows down: stop treating it like a cleaning issue and check for scale.
This is the practical split:
Clean what coffee touches. Dry what water sits in. Descale what water passes through.
That gives you a better routine than a fixed date.
If you are unsure about descaling timing, read our guide on how often to descale a coffee maker.
Final Checklist
Use this simple checklist before deciding what to do next:
- Carafe stained? Clean the carafe.
- Basket oily or dirty? Wash the basket and reusable filter.
- Reservoir dusty or marked? Wipe and rinse it if the manual allows.
- Machine smells stale? Deep clean the removable parts.
- Machine brews slowly? Check for scale.
- Water flow is weak? Descale the machine.
- Vinegar smell lingers? Rinse again with clean water.
- Scale keeps coming back quickly? Review your descaling schedule.
Cleaning keeps the visible parts fresh. Descaling keeps the water system clear.
If your machine is clean but still brewing slowly, the issue is probably not old coffee residue. It is more likely mineral buildup.
Frequently Asked Questions
What is the best way to clean a coffee maker?
The best way to clean a coffee maker is to wash the removable parts, wipe the machine, clean the carafe and filter basket, and rinse the water reservoir where possible.
If the machine has slow flow or chalky buildup, descale it as well.
Can I clean a coffee maker with vinegar?
Yes, but use vinegar carefully. It can help with light mineral marks, cloudy film, or stale smells on removable parts such as a glass carafe, lid, or basket. Do not use it as a general cleaner for every part of the machine, and do not run vinegar through the reservoir unless your manual allows it.
How much vinegar should I use to clean a coffee maker?
For cleaning removable parts, mix 1 part white vinegar with 3 parts warm water and use it only on parts you can rinse properly.
For a glass carafe with cloudy marks or stale smell, add 2 to 3 tablespoons of white vinegar to warm water, leave it for 10 to 15 minutes, then rinse well.
Equal parts vinegar and water is usually a descaling mix for some basic drip coffee makers, not normal cleaning. Only run vinegar through the machine if your manual allows it.
How do I clean the inside of a coffee maker?
Clean the removable parts by hand, wipe the reservoir where the manual allows, and use the correct cleaning or descaling cycle for the internal water path.
Do not run dish soap through the machine.
How do I clean a coffee maker without vinegar?
Wash removable parts with warm water and mild dish soap. Rinse well. For brown staining or oily residue inside a glass carafe, baking soda can help. For mineral scale inside the machine, use a purpose-made descaler that suits your coffee maker.
Can I use bleach to clean a coffee maker?
No.
Do not use bleach inside a coffee maker.
It is not suitable for the internal water system and can leave unsafe residue.
Use mild dish soap for removable parts and an approved descaler for mineral buildup.
Is cleaning the same as descaling?
No.
Cleaning removes coffee oils, stains, grounds, and surface residue.
Descaling removes mineral buildup inside the water system.
How often should I clean my coffee maker?
Clean removable parts after regular use. Deep clean when the machine smells stale, the carafe is stained, or residue builds around the basket and lid. Descale separately when water flow, taste, noise, or warning lights suggest mineral scale.

